Embroidery
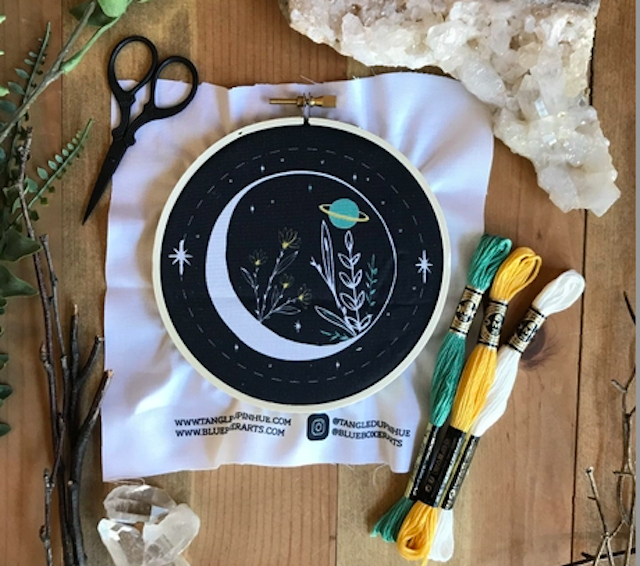
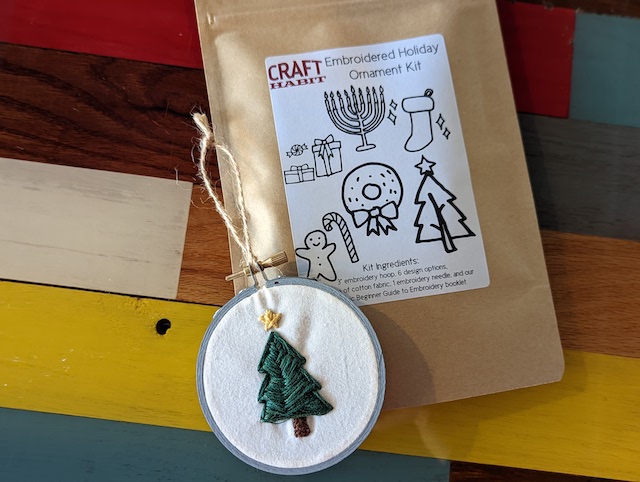
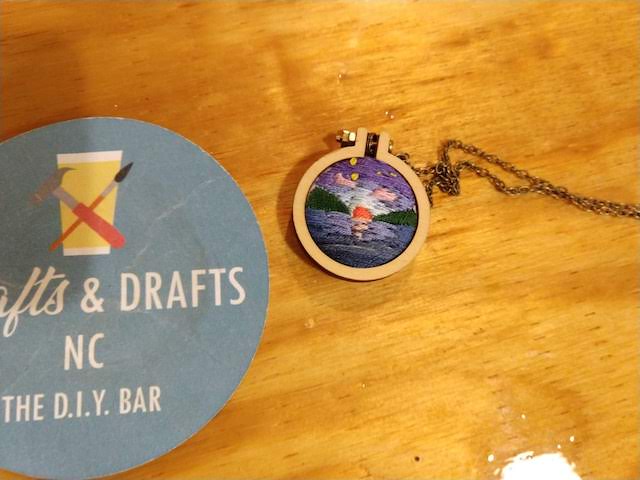
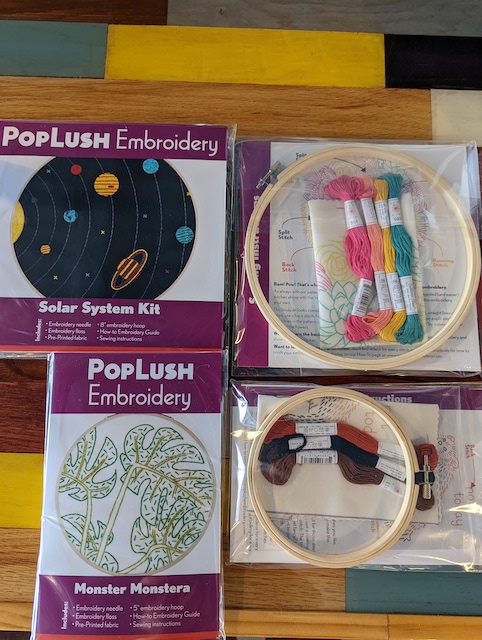
Embroidery can vary in complexity based on kit, but the result is always stunning. Try your hand at this craft that adds depth using embroidery floss and has been described by some to be “like coloring with thread”. Note that our kits in our retail section do change regularly, so pictured designs may not be available in store.
Price
Medium/Regular - $30
Large/Specialty - $35
Time to Complete
3 hours +
Additional Info
- Templated or freehand craft
- Available to go
Materials in Kit
- Embroidery Kit Instructions (varies based on kit/maker)
- 1 embroidery hoop
- Embroidery fabric
- Needle
- Embroidery floss/thread
Other Materials
- Pencil (found at gray craft cart)
- Scissors (found at gray craft cart)
- Glue Gun (found at gray craft cart)
- Additional colors of embroidery floss (Optional; found at craft carts)
Instructions
| Step 1 | Verify all materials are in your kit. | |
|---|---|---|
| Step 2 | Secure your fabric into the embroidery hoop included by unscrewing the inner hoop from the outer hoop. Place the fabric on the inner hoop so it's completely covered. Then place the outer hoop over the fabric covering the inner hoop. Secure the two hoops together again so that the fabric is taught and held in place between the inner and outer part of the hoop. | |
| Step 3 | Choose your starting thread color, and cut a piece about the length of your hand to your elbow. Each embroidery floss is 6 threads loosely woven together. Verify with your instructions first, but you'll likely want to spit your cut floss in half, so it's 3 threads in each strand. This will make it much easier to thread your needle. | |
| Step 4 | Thread your needle and start stitching! Follow the instructions and pattern provided in your kit until complete. Enjoy! |